Recently while deleting a service application my system got unresponsive and while trying to create the service application again i constantly got the following error.
“An unhandled exception occurred in the user interface.Exception Information: An object of the type Microsoft.SharePoint.Administration.SPIisWebServiceApplicationPool named "SearchServiceApplication" already exists under the parent Microsoft.SharePoint.Administration.SPIisWebServiceSettings named "SharePoint Web Services". Rename your object or delete the existing object.”
This seems to be happening because one of the service application pools were not removed while deleting the service application. This can be removed by using PowerShell.
First load the SharePoint 2010 Management Shell by navigating to Start –> Microsoft SharePoint 2010 Products –> SharePoint 2010 Management Shell.

Then use the “Get-SPServiceApplicationPool” command to view all the existing service application pools.
Get-SPServiceApplicationPool
Now use the “Remove-SPServiceApplicationPool -Identity SearchServiceApplicationPoolName” command to remove the service application you want removed. If the service application pool’s name is having spaces remember to use double quotes.
Remove-SPServiceApplicationPool -Identity SearchServiceApplicationPool1
PowerShell will ask to confirm the deletion, after confirming the action, it will remove the service application pool.


 d. Select the site or the farm to backup the entire SharePoint farm.
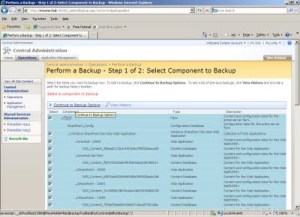


 3. Save the site config file.4. Now you need to edit the web applications' web.config file. Normally this can be found under Drive:\Inetpub\wwwroot\wss\VirtualDirectories\VirtualDirectoryFolder(C:\Inetpub\wwwroot\wss\VirtualDirectories\82)using NotePad or Visual Studio. 5. Find the line maxRequestLength and add executionTimeout in to it as shown below.
 6. Save the application config file.7. Do an IIS restart and then your change will be in effect.
 3. Click on SharedServices1 (Administration site host) link in Manage this Farm's Shared Services page to open the Web Application General Settings page.
  4. Find the Maximum Upload Size property and change it to the maximum upload file size you want. Note that you can put file sizes up to 2GB (2047MB).
  Now you will be able to upload larger files than 50MB.
