Wednesday, November 30, 2011

Whispering Wall – Williamstown South Australia

Barossa Dam or whispering wall in Williamstown is not a place you should miss in your visit to South Australia. From the outer look it is just a dam created in Barossa Reservoir. But the magic starts after you send a friend to the other side of the dam and speak.

You and your friend will be able to talk as you two are near each other. The sound is very clear hence the name you can whisper and that will be heard by a person who is in the other side of the dam.

I was said that when the dam was built the lead engineer used to listen to the workers using this amazing facility to get to know what they are talking about him. Also it seems a later attempt to build a similar dam following the same design and material failed to demonstrate the whisper ability. So this is a unique dam you will not find elsewhere.

Map


View Larger Map

Adelaide – South Australia

Thought to share some nice photos captured in the city I live in. Even though the city is small there are many thing that you can enjoy in this city so I recommend Adelaide for travelers. If you are in Australia don’t forget to visit Adelaide for few days.

Album contain photos of Adelaide city and few of the many gardens Adelaide.

Cathedral shown is the famous St. Peters Cathedral located in 27, King William Road, Adelaide, SA 5000, Australia. Which is located in the following map.


View Larger Map

Expandable Regions using HTML

You can create nice looking expandable regions using just HTML and some Java scripting. This is specially useful if you are to create a site without any major programming languages. Today I thought to share an expandable region that I created to give you an idea to get it done.

When the code works it will look like the following.

imageimage

You should be excited by now, to get it working you need the following code inserted into a body section of a HTML file. Please note I have added the CSS also in to the page body, but if you have a separate CSS file please separate the CSS .

  1. <style type="text/css">
  2.     a.headingStyle
  3.     {
  4.         text-decoration: none;
  5.         margin-left: 0.5em;            
  6.     }
  7.     a.headingStyle:hover
  8.     {
  9.         text-decoration: underline;
  10.     }
  11.     a.headingStyle span.charStyle
  12.     {
  13.         font-family: monospace;
  14.         font-weight: normal;
  15.     }
  16.     .contentStyle
  17.     {
  18.         display: none;
  19.         margin-left: 1.5em;
  20.         margin-right: 0.5em;
  21.         margin-bottom: 0.5em;
  22.         border-width: thin;
  23.         border-style: outset;
  24.         background-color:#D2E3FF;
  25.     }
  26.     .upArrowStyle
  27.     {
  28.         height:32px;
  29.         background-image: url('Up_Arrow_32x32.png');
  30.         background-repeat:no-repeat;
  31.     }
  32.     .downArrowStyle
  33.     {
  34.         height:32px;
  35.         background-image: url('Down_Arrow_32x32.png');
  36.         background-repeat:no-repeat;
  37.     }
  38. </style>
  39.  
  40. <script type="text/javascript">
  41.     function display(item) {
  42.         if (document.getElementById) {
  43.             // Retrieving the first child item.
  44.             var firstChildItem = item.firstChild;
  45.             // Getting the correct child item with inner HTML text.
  46.             firstChildItem = item.firstChild.innerHTML ? item.firstChild : item.firstChild.nextSibling;
  47.             // Toggling the + or - according to the state after click.
  48.             firstChildItem.innerHTML = firstChildItem.innerHTML == '+' ? '-' : '+';
  49.             // Toggling the display image after click.
  50.             item.className = item.className == "downArrowStyle" ? "upArrowStyle" : "downArrowStyle";
  51.             // Get the sub item to toggle visibility.
  52.            var nextSubItem = item.parentNode.nextSibling.style ? item.parentNode.nextSibling : item.parentNode.nextSibling.nextSibling;
  53.             // Toggle visibility of the sub item.
  54.             nextSubItem.style.display = nextSubItem.style.display == 'block' ? 'none' : 'block';
  55.         }
  56.     }
  57.  
  58.     // Displaying everything if item could not be found.
  59.     if (!document.getElementById)
  60.         document.write('<style type="text/css"><!--\n .dspcont{display:block;}\n //--></style>');
  61. </script>
  62.  
  63. <!-- If Java scripts are blocked, display everything expanded. -->
  64. <noscript>
  65.     <style type="text/css">
  66.         .dspcont
  67.         {
  68.             display: block;
  69.         }
  70.     </style>
  71. </noscript>
  72. <div>
  73.     <!-- If + or - is required to be displayed besides the image simply change display:none; to display:block; in following sections. -->
  74.     <h1>
  75.         <a href="javascript:void(0)" class="downArrowStyle" onclick="display(this)">
  76.             <span style="display:none;">+</span><span style="margin-left:34px;">Main Title 1</span>
  77.         </a>
  78.     </h1>
  79.     <div class="contentStyle">Title 1 content goes here.</div>
  80.     <h1>
  81.         <a href="javascript:void(0)" class="downArrowStyle" onclick="display(this)">
  82.             <span style="display:none;">+</span><span style="margin-left:34px;">Main Title 2</span>
  83.         </a>
  84.     </h1>
  85.     <div class="contentStyle">
  86.         <h2>
  87.             <a href="javascript:void(0)" class="downArrowStyle" onclick="display(this)">
  88.             <span style="display:none;">+</span><span style="margin-left:34px;">Sub Title 1</span></a></h2>
  89.         <div class="contentStyle">
  90.             Sub title 1 content goes here.</div>
  91.         <h2>
  92.             <a href="javascript:void(0)" class="downArrowStyle" onclick="display(this)">
  93.             <span style="display:none;">+</span><span style="margin-left:34px;">Sub Title 2</span></a></h2>
  94.         <div class="contentStyle">
  95.             Sub title 2 content goes here.</div>
  96.     </div>
  97.     <h1>
  98.         <a href="javascript:void(0)" class="downArrowStyle" onclick="display(this)">
  99.         <span style="display:none;">+</span><span style="margin-left:34px;">Main Title 3</span></a></h1>
  100.     <div class="contentStyle">Title 3 content goes here.</div>
  101. </div>


Remember to correct the image URLs, otherwise they will go missing.

I need to thank M. C. Matti for his great article which gave me this idea. Also you can use this method to create expandable regions in other sites which use different technologies. For example if you need to add this to a SharePoint site, just use a Content Editor web part and paste the code using Source Editor in web part properties.

Hope this helps.

Tuesday, November 15, 2011

HTML Menu

Today I thought to share with you, how to create menus using HTML only. These menus will be very useful if you need to create web sites using only HTML.

image

Above menu is created using basic unordered list (UL), list items (LI), links and some CSS.

Below is the HTML code for the menu. In the code I have created the full menu using HTML lists and used CSS to format the list to work as a menu.

  1. <ul class="mainMenu">
  2.     <li class="mainMenuItem"><a href="Home.html" class="mainMenuLink">Home</a>
  3.         <ul class="subMenu">
  4.             <li class="subMenuItem"><a href="Page1.html" class="subMenuItemLink">e</a></li>
  5.             <li class="subMenuItem"><a href="Page2.html" class="subMenuItemLink">ee</a></li>
  6.         </ul>
  7.     </li>
  8.     <li class="mainMenuItem"><a href="Module1.html" class="mainMenuLink">Module 1</a>
  9.         <ul class="subMenu">
  10.             <li class="subMenuItem"><a href="Module1_Page1.html" class="subMenuItemLink">dd</a></li>
  11.             <li class="subMenuItem"><a href="Module1_Page2.html" class="subMenuItemLink">ddd</a></li>
  12.             <li class="subMenuItem"><a href="Module1_Page3.html" class="subMenuItemLink">dddd</a></li>
  13.         </ul>
  14.     </li>
  15.     <li class="mainMenuItem"><a href="Module2.html" class="mainMenuLink">Module 2</a>
  16.         <ul class="subMenu">
  17.             <li class="subMenuItem"><a href="Module2_Page1.html" class="subMenuItemLink">c</a></li>
  18.             <li class="subMenuItem"><a href="Module2_Page2.html" class="subMenuItemLink">cc</a></li>
  19.             <li class="subMenuItem"><a href="Module2_Page3.html" class="subMenuItemLink">ccc</a></li>
  20.         </ul>
  21.     </li>
  22.     <li class="mainMenuItem"><a href="Module3.html" class="mainMenuLink">Module 3</a>
  23.         <ul class="subMenu">
  24.             <li class="subMenuItem"><a href="Module3_Page1.html" class="subMenuItemLink">bb</a></li>
  25.             <li class="subMenuItem"><a href="Module3_Page2.html" class="subMenuItemLink">bbb</a></li>
  26.             <li class="subMenuItem"><a href="Module3_Page3.html" class="subMenuItemLink">bbbb</a></li>
  27.         </ul>
  28.     </li>
  29.     <li class="mainMenuItem"><a href="Module4.html" class="mainMenuLink">Module 4</a>
  30.         <ul class="subMenu">
  31.             <li class="subMenuItem"><a href="Module4_Page1.html" class="subMenuItemLink">aa</a></li>
  32.             <li class="subMenuItem"><a href="Module4_Page2.html" class="subMenuItemLink">aaa</a></li>
  33.             <li class="subMenuItem"><a href="Module4_Page3.html" class="subMenuItemLink">aaaa</a></li>
  34.         </ul>
  35.     </li>
  36. </ul>


Below is the CSS that you need to make the above HTML work as a menu.

  1. .subMenu
  2. {
  3.     padding: 1px;
  4.     position: absolute;
  5.     visibility: hidden;
  6. }
  7. .subMenuItem
  8. {
  9.     list-style: none;
  10.     float: left;
  11.     position: relative;
  12.     margin: 0px;
  13.     display: block;
  14.     width: 92px;
  15. }
  16. .subMenuItemLink
  17. {
  18.     color: White;
  19.     text-align: left;
  20.     text-decoration: none;
  21.     padding-left: 5px;
  22.     display: block;
  23.     height: 32px;
  24.     width: 92px;
  25.     background-image: url('./Images/menuButtonSelected.jpg');
  26. }
  27. <!-- Changing the menu when mouse is over the menu. -->
  28. .mainMenuItem:hover .mainMenuLink
  29. {
  30.     color: White;
  31.     background-color: Blue;
  32.     background-image: url('./Images/menuButtonSelected.jpg');
  33. }
  34. <!-- Changing the menu when it is selected. -->
  35. .mainMenuItem:active .mainMenuLink
  36. {
  37.     background-image: url('./Images/menuButtonSelected.jpg');
  38. }
  39. <!-- Showing the sub menu items when mouse is over the main menu. -->
  40. .mainMenuItem:hover .subMenu
  41. {
  42.     visibility: visible;
  43.     z-index: 100;
  44. }


Do not forget to import the CSS into the HTML page by using a link as shown below.

  1. <link rel="stylesheet" type="text/css" href="DefaultStyles.css" />


I used the following images as the background images of the links.

menuButton11  menuButtonSelected11

I think the code is not that complex, so hope this helps, let me know if you need any help on this, I will try to help you out.

Microsoft Flight

In early 2009 I got shocked when I heard that Microsoft Aces game studio was closed down by Microsoft which was responsible for developing well known PC simulation software's and games such as Flight Simulator, Combat Flight Simulator and Train Simulator.

But recently after getting to know that Microsoft is now developing the Flight Simulator internal at Microsoft I am more than happy. After seeing the new visuals of the renamed product Microsoft Flight, I am extremely exited and waiting until they release the next version.

See for your selves by visiting Microsoft Flight site which is the next version of Microsoft Flight Simulator X.

Saturday, November 05, 2011

Word Field Code Samples

As I mentioned in my last post, I will list down some uses of Word field codes here. If you would like to know what they are I invite you to read my previous post on field codes.

Notes -

  • Always remember to user Ctrl + F9 to put curly braces, sorry no copy pasting, you have to type all.
  • If the codes are misbehaving, right click and click on Update Field.
1. Using Word how to greet the user according to the time of the day.
 

{ If "{ Time \@ "HH:mm" }" > "12:00" { If "{ Time \@ "HH:mm" }" > "15:00" { If "{ Time \@ "HH:mm" }" > "18:00" "Good Night" "Good Evening" } "Good Afternoon" } "Good Morning" }

image

image

2. Concatenating text and displaying in Word.

Welcome { UserName } you are reading { FileName \* MergeFormat }.

image

3. Displaying page number in odd pages and text on others in Word.

{ If { =Mod({ Page }, 2) } =1 { Page } "PTO" }

image

image

4. Using Word skipping page number on first two pages and then showing page numbers starting from number 2.

{ If { Page } < 3 "" { ={ Page } - 1 } }

image

image

5. Displaying last saved user name on the last page in Word.

{ If { Page } = { NumPages } "This { FileName } was last saved by { LastSavedBy } on {DocProperty LastSavedTime }. Document was edited for { EditTime } minutes." "" }

image

6. Displaying number of characters, words, paragraphs, pages in a Word document.

This document has { NumWords } words in { NumPages } pages.

image

This document has { NumChars } characters in { DocProperty Paragraphs } paragraphs.

image

Thursday, November 03, 2011

Field Codes in Word

When playing with Microsoft Word I found a nice feature from which we can do few more things with Word other than typing documents.

It is known as field codes. Below are some of them with their descriptions.

Field Code

Description

DocProperty Retrieves current document properties.
NumChars Retrieves the number of characters in the current document.
NumWords Retrieves the number of words in the current document.
NumPages Retrieves the number of pages in the current document.
Page Retrieves the current page number of the document.
LastSavedBy Retrieves the name of the user who saved the document last.
SectionPages Retrieves the total number of pages in the current section.
Template Retrieve the name of the title the document is based on.
Time Retrieves the current system time and you can format the time using date formats.
UserInitials Retrieves the current user’s initials.
UserName Retrieves the current user’s name.


I did mention only few field codes above to just make you start thinking the things which can be achieved by using them in your documents.

To demonstrate I will create a Word document which greets the user with his name. To do this there are 2 ways, one is easy and the other is little hard.

Method 1

1. First the easy way, just open Word, place your cursor where you need your greeting to appear and click on Insert tab to show the insert ribbon. Then click on Quick Parts and then on Field

image

2. From the field window select UserName field and choose an appropriate format from the format list and press ok.

image

This will add the following to your Word document which is responsible in showing the current user’s name.

{ USERNAME  \* Caps \* MERGEFORMAT }

3. To hide the code and display the user name right click on the code and click on Toggle Field Codes.

image

Since I did put the word Welcome in front of this the code the output appears as below.

image

If you need to change the code you can right click on the user name displayed and click on Edit Field.

Method 2

Bit difficult way of doing the same is to just type in the code without the help of Word. Since we know what to type in, the trick is to press Control key and F9 (Ctrl + F9) keys before doing anything.

To get this done just go to the place where you need the user name to appear and then press Ctrl + F9 keys. This will add two curly braces (“{  }”) onto Word (Always press Ctrl + F9, never type the braces manually since then it will not work). Then just type in the code we used earlier and it will work the same way.

Knowing the below keyboard shortcuts will ease your life.

Ctrl + F9 – Will add code insertion points to Word.

Shift + F9 – Will toggle the currently selected field code.

Alt + F9 – Will toggle all the filed codes found in the Word document.

If you find that the codes are not working as they should be, simply try right clicking on it and clicking on Update Field.

Hope this is helpful to you and later I will be putting another post with some field codes in action.

Monday, October 31, 2011

JavaScript Performance Testing

Recently I found a site which enable us to compare the performance of different JavaScripts that we write. This makes us choose the best code when we have several ways of doing the same thing because we can compare the performance of the script that we wrote easily.

If you are interested, go to http://jsperf.com/ to start testing.

You need to just put in “Presentation code HTML” and the required JavaScripts as test cases. Then after saving you can run the tests to check for performance.

Another feature of this site is that you can share your tests with others since you can access the tests using the shown public URL.

imageimage

Saturday, September 17, 2011

TechEd Australia – Videos

As you might know TechEd Australia ended few weeks back. I am sure lot of you might not have the chance to visit it. The good thing is you can watch the recorded sessions online now by visiting the following site.

http://channel9.msdn.com/events/teched/australia/tech-ed-australia-2011

I think this will be mostly useful to people who didn’t visit TechEd and also to people who visited it to refresh their minds.

Monday, August 29, 2011

Installing a Telephone Connector

In the current place I am living I didn’t have a telephone connection, when I applied for a connection and got the connection I found that some of the line wiring and connectors are out of shape. So I had to replace some items and rewire. When doing it I faced few issues since the connector was a legacy connector. So I thought to put an article on how to correctly get it done.

The connector I found in my place is the old Australian connector which is sometimes named as legacy Australian connector or 610 socket. Following are some images to correctly identify it.

imageimageimage


To get it correctly fitted first you need to identify your correct wire pairs, luckily in mine only one pair was working (meaning only one line was present). So I just used my multi meter to find the correct wire pair. Since phone wires will have DC current remember to put your multi meter into DC mode before measuring. Also note that phone lines may conduct 24v-50v DC current normally. When ringing this will change to 75v-90v AC.

IMPORTANT - If you touch them directly you might get an electric shock even though it is not deadly so always make sure you are wearing gloves or adequate footwear since if you do not like to get shocked.

Even though the old phone cables only had 4 wires the new ones are having more. Sometimes this can even be 50. When there are more wires it means that the wire can be used to connect more lines. For example a cable with 4 wires can be used for 2 lines. A cable with 16 wires can transmit 8 phone lines. To identify the pairs correctly phone wires inside a cable are color coded. Since I am not an expert in this area I will only talk about 6 wired cables. The following will be helpful to find the correct wire pairs for you.

  • Pair 1 ring (Blue) 6
  • Pair 1 tip (White) 2
  • Pair 2 ring (Black) 1
  • Pair 2 tip (Red) 5
  • Pair 3 ring (Green) 3
  • Pair 3 tip (Orange) 4

Now you may be wondering few things, wait I will try to explain.

In the above cable since it has 6 wires it can accommodate 3 phone lines or pairs. For example first pair is White and Blue wires, second pair is Black and Red wires and third pair is Green and Orange wires.

The words ring and tip are like live and neutral or + and –. Ring is battery negative and tip is ground. Since some answering machines do need these correctly hooked in it is always good to connect them correctly to get the ultimate from your equipment.

The last digit in Black represent the place the wire should be connected in the phone socket. To explain this more I will use the following picture I took on 610 socket after removing its cover.

image

If you closely look into the socket you will see there are numbers from 1 to 6 (sorry they are not visible in the image) marking the pins. The numbering starts from right to left in the image. So the Red wire in the image is connected to pin 1 and Blue wire is connected to pin 6.

After identifying the pins in the socket and wire pairs the next step is to correctly connect them. You just need to connect the pairs as per the last digit shown in the bulleted list above. If you correctly got it it should end up like this.

From right to left on the socket.

  • Pair 2 ring (Black) – Pin 1
  • Pair 1 tip (White) – Pin 2
  • Pair 3 ring (Green) – Pin 3
  • Pair 3 tip (Orange) – Pin 4
  • Pair 2 tip (Red) – Pin 5
  • Pair 1 ring (Blue) – Pin 6

Then replace the socket cover and plug in the compatible plug (605) into the socket.

image

As you see in my plug only four contacts are there meaning I only can use 2 phone lines (pairs), but since I only have one line this is not an issue to me. So make sure to find the correct plug if you are trying to utilize all 3 pairs.

I know there must be many unanswered questions. Even though I am not an expert on this area let me know if you face any problems, I will try to help you.

Thursday, July 28, 2011

Comparing Content Management Systems

Recently I needed to compare the features of different Content Management Systems (CMS) and came up to the following site which has a huge list of Systems with the ability to compare their features.

http://www.cmsmatrix.org/

Thursday, July 07, 2011

Came Back to Australia

Since last May I was back in Australia with my wife, so didn’t had a chance to update my site for a long time. This time I will be staying in Adelaide for long.

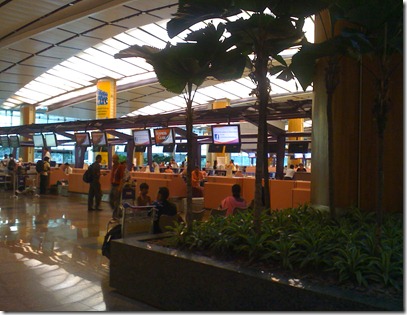
Thought to share some pictures I took on my way here through Singapore.

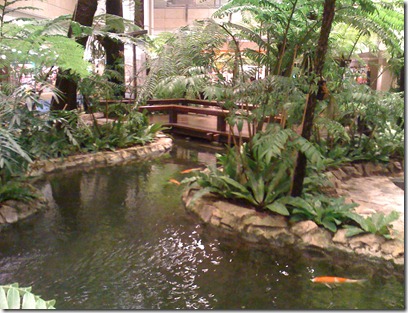
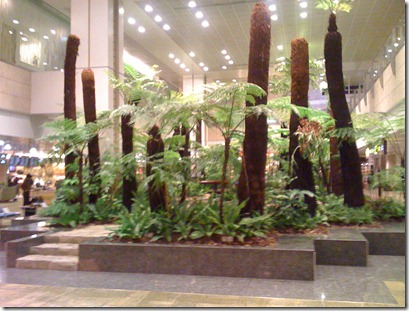
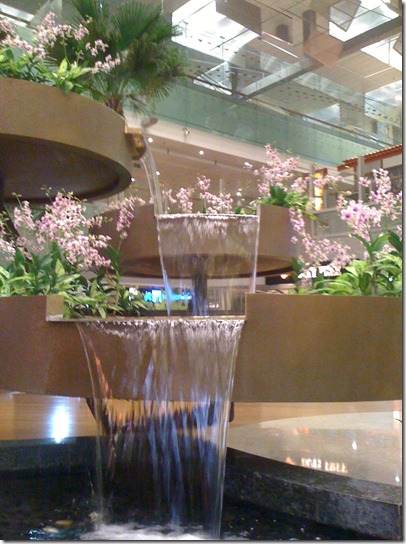
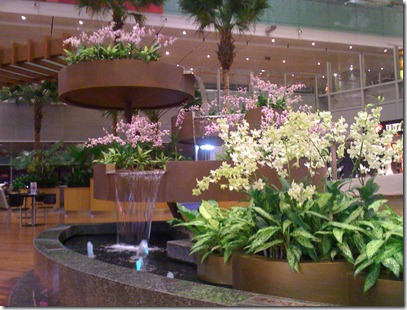
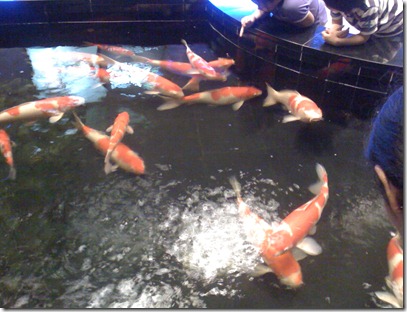
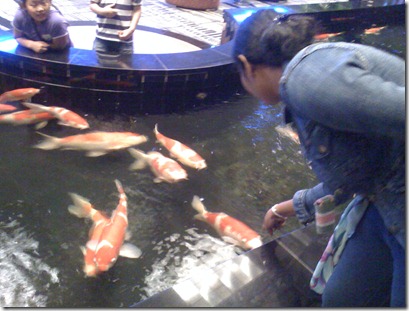
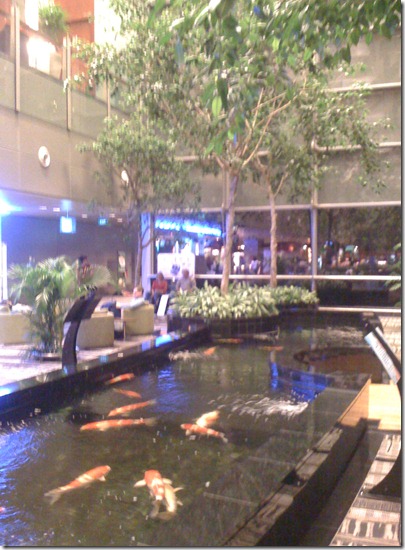
Following are some photos I took while we were in some indoor gardens at Singapore Airport.

IMG_2819IMG_2826IMG_2894IMG_2896IMG_2897IMG_2900IMG_2901IMG_2904IMG_2887

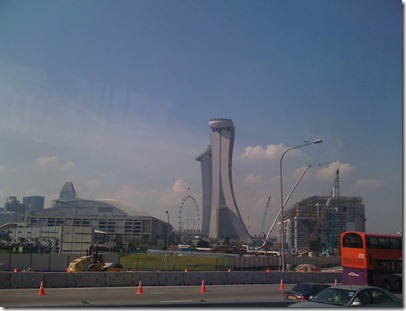
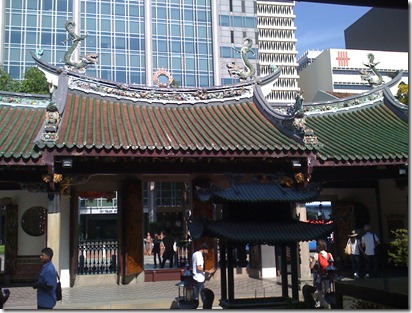
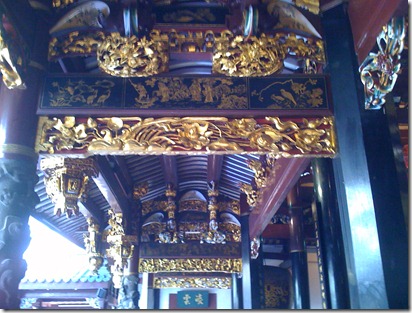
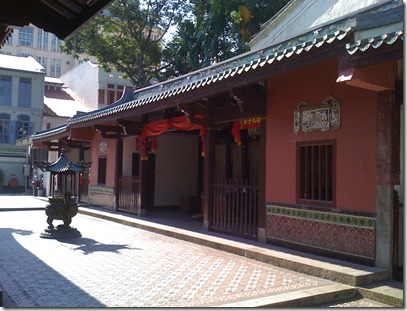
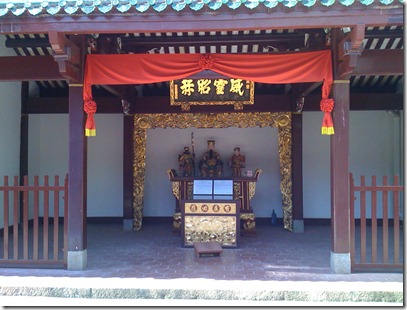
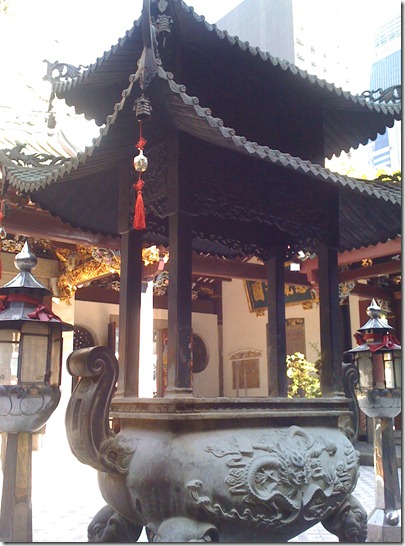
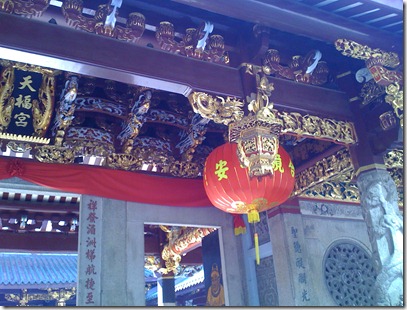
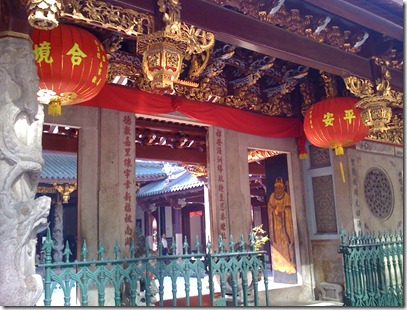
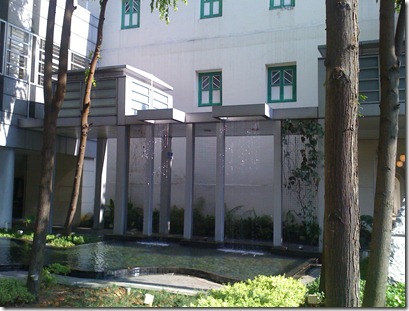
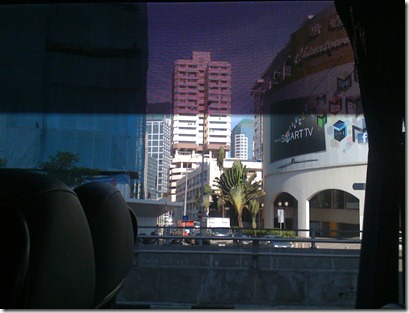
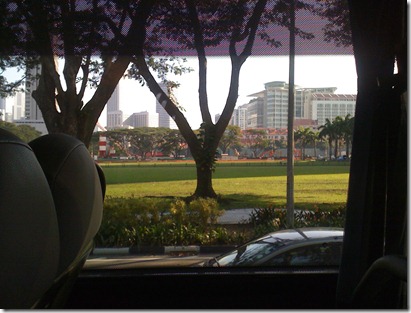
Some photos I captured while we were in Singapore City.

IMG_2841IMG_2852IMG_2853IMG_2856IMG_2866IMG_2867IMG_2868IMG_2871IMG_2872IMG_2875IMG_2876IMG_2882IMG_2884

Even though this was my second time in Singapore I will never be bored being in Singapore due to vast variety of facilities Changi airport is providing.

In flight to Adelaide, Australia on Singapore Airlines Airbus A330.

IMG_2918